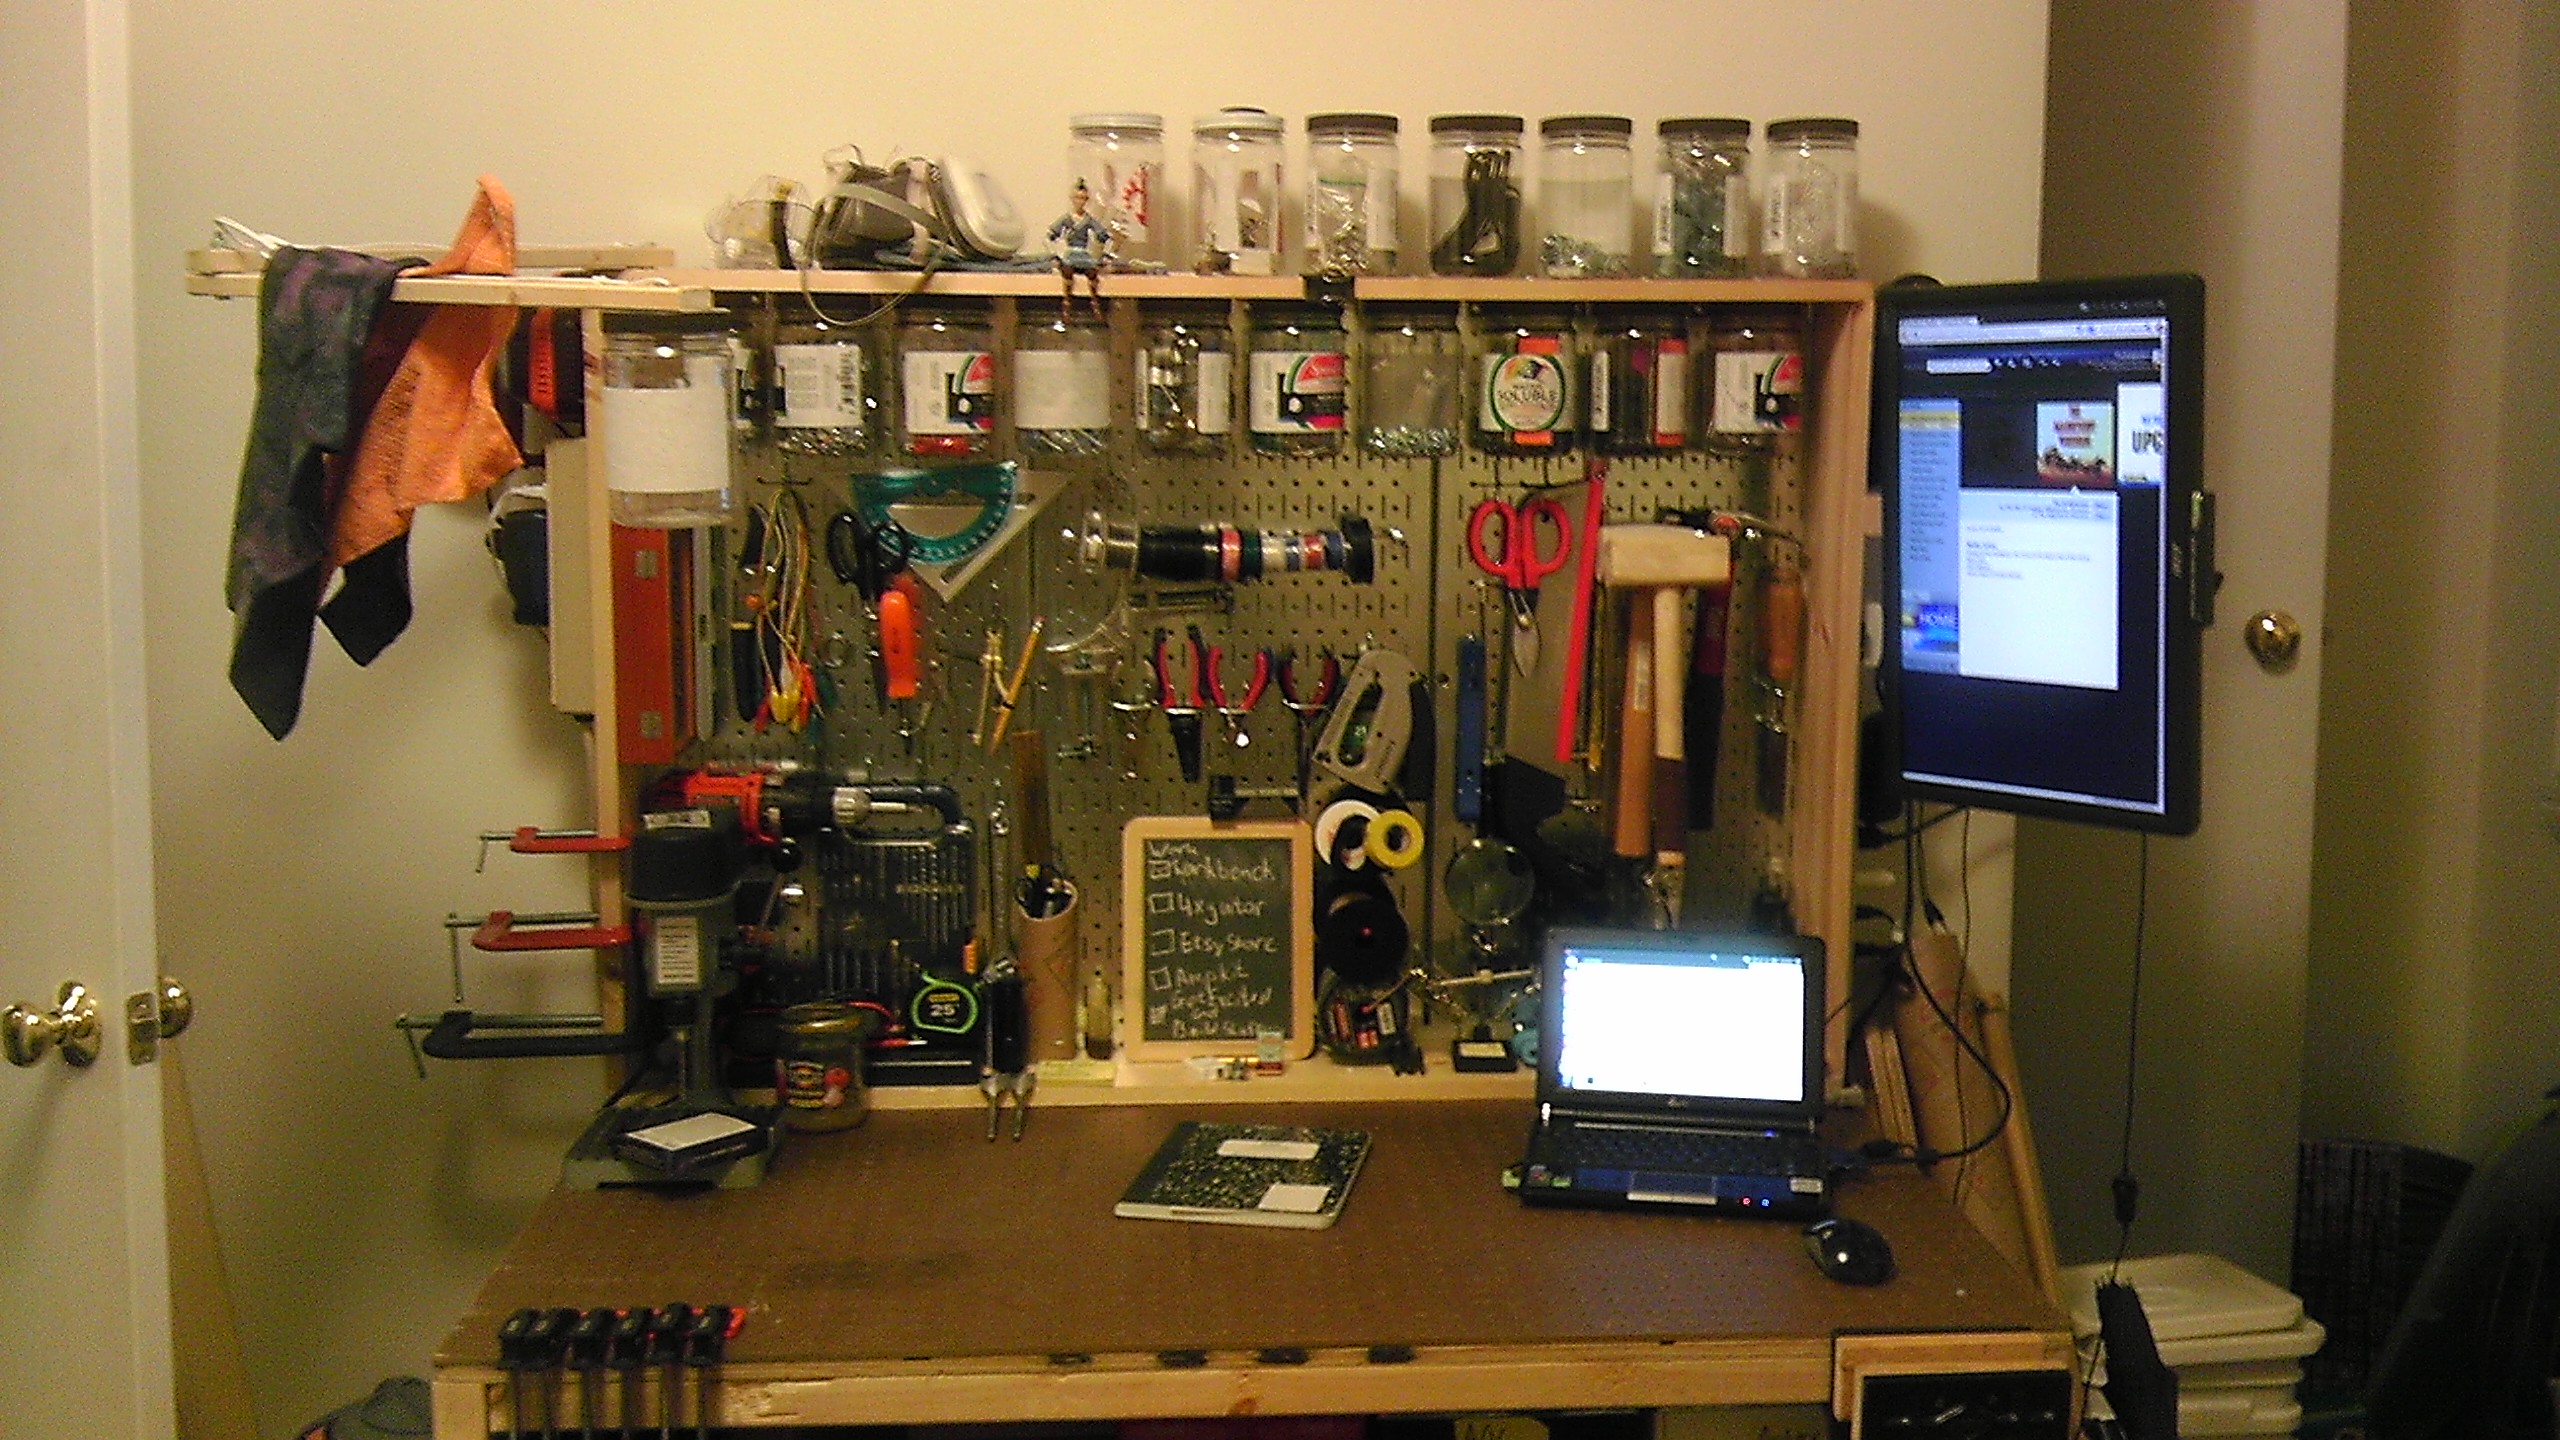
For kid makers, having a dedicated space to work on projects can be pretty wonderful, and it just might help them create more than they ever imagined. A workspace doesn't need to be huge -- a small workbench that is efficient, compact and flexible in its use and storage can fit almost anywhere. Here are some tips on how to design and set up a mini maker space made just for your kids. Your kids can even help you set this up, though adult supervision is suggested, especially when installing the table and hanging shelving and pegboard.

1. Answer a few questions to help your child make some key decisions.
• What general-use tools do you and your kids use for every project and should have on hand all the time? I do a lot of woodworking and electronics, and a little sewing, so that's how I prioritize. Tools I don't use often I put in storage.
• What fasteners/supplies do you need on hand all the time? You should put these in handy containers, labeled if necessary.

• What support materials can't you live without? These are things like designs, plans, diagrams, or a computer. You may need a file folder to hold designs or patterns. If you use a computer on your projects, you might want to make room for it on your workbench. I have a Raspberry Pi cased and screwed directly into the side of my workbench, and a monitor on a swing arm to free up space on my workbench computer.


2. The Table
The surface you and your kids work on should complement your projects.
• If you do a lot of woodworking, you'll want a hard, flat surface that can be replaced after it is worn, stained, sawn, and hammered. High-density board can be screwed onto a work surface and replaced easily. Mount it to the surface with screws or bolts so you can replace it easily.
• If you sew and work with fabric, you could secure a set of measuring mats into the surface or use a printout of a ruler under a transparent surface.
• Other questions to consider: Do you need a smooth work surface? Do you need a perfectly level surface? Does it need to be waterproof? You can coat a worktop with a sealant or waterproof glue to achieve this last feature.
• Table Height: If you stand while you work, the table should be at about your elbow height while standing. A sitting table should be at about your – or your child's -- elbow height while seated.

3. Tool Storage
Keep as much off of your tabletop as possible and your little maker's life will be much more fun.
• If you have more than two tools that you use a lot, a pegboard is a great way to store them. Help your child hang a piece of pegboard in the back of the work space.


• Store similar tools in the same area.
• What tools are you willing to let have a permanent footprint on your bench? Having more than one permanent bench-top tool can cut into your space a lot.
• Put less-used items on shelves.
• Don't overstuff your work bench; if you don't use a tool often, put it in storage in another area.
4. Supply Storage
Supplies are not easy to maintain and keep orderly. You want everything available at your fingertips, but you don't want it to end up in a big pile.
• What is the shape of your supplies?
o If long and thin, tubes such as sonotube can be a great way to hold large amounts of long, thin pieces.
o If flat sheets, store them behind the workbench.
o Do they need special temperature/humidity regulation? If you have to store supplies in your household fridge, label and date them. There's nothing worse than discovering that your refrigerated supplies have expired.
o Do you have tons of fabric or yarn? A horizontal pole and some trouser hangers make an easy viewable textile library. Shoe storage units and small bookcases are a great way to organize yarns.
• Put tools and supplies that you only use with each other in the same space, e.g. solder with your soldering iron.
• Consider "project boxes" that contain specific sets of tools and supplies that are reserved for specific projects.


5. Project Management
Every maker I know has "too many projects" -- they start more projects than they have the ability to finish. Managing your projects can help you avoid this situation.
• Track your active projects in a visible way such as a small chalkboard or chart.
• If you want to start a new project, remove or finish one of your older projects.

Some planning and thought will help you create and maintain a workshop you and your child will love to use in whatever space you have to work with.
Remember, if your space is next to spaces that you share with others, be courteous. Make sure your work or supplies don't sprawl across the room and into shared areas. You'll need to clean up periodically to keep it that way!

