Try These STEM Pumpkin Activities With Your Students
It's the perfect way to celebrate fall and inspire a love of science in your classroom.
Try These STEM Pumpkin Activities With Your Students
Upper elementary teacher Alycia Zimmerman loves integrating seasonal fun into her standards-based curriculum. When autumn rolls around, she knows there’s no better way to teach estimation, measurement, and other math concepts than with a STEM Pumpkin Project! This project is the perfect fall activity that will transform your students into data-recording pumpkin investigators.
Introducing the Pumpkin Unit
To set the stage for the project, bring a pumpkin to class—the more unusual, misshapen, or oddly-colored, the better! Your students will be immediately intrigued by the new “visitor” in the classroom. Explain that, soon, the class will conduct a STEM investigation using pumpkins.
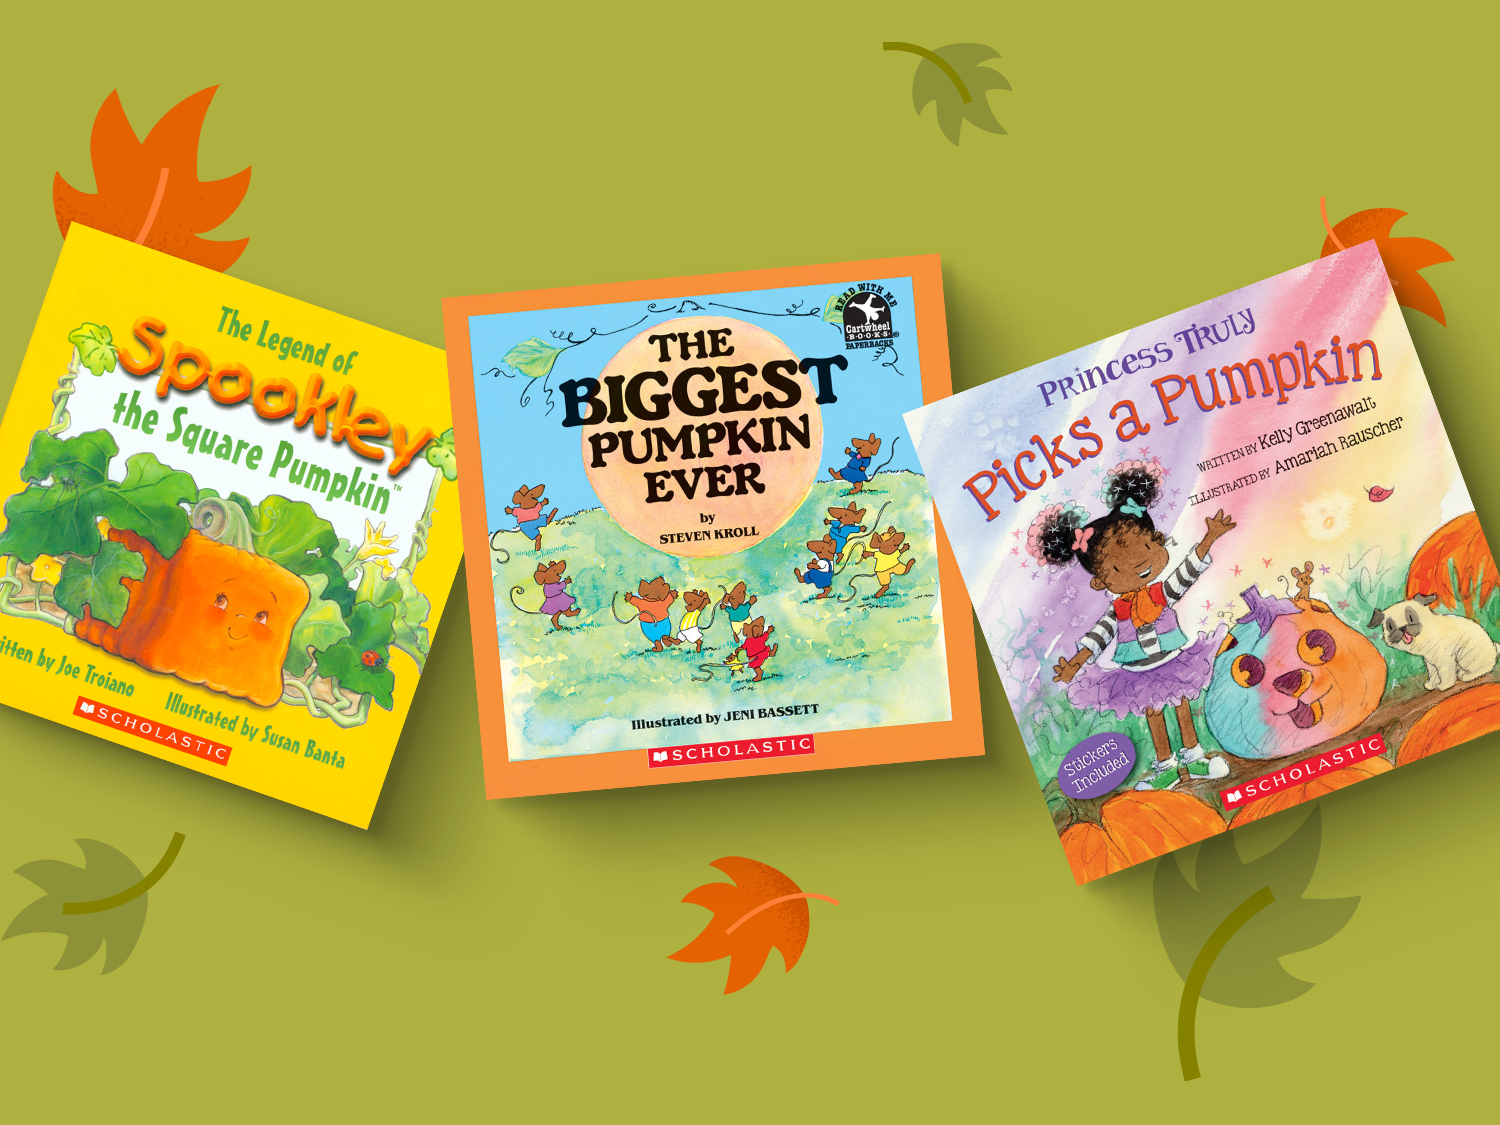
Now that you’ve piqued their interest, it’s time for a pumpkin-themed read-aloud! There are many excellent pumpkin books to choose from, and one classroom favorite is The Biggest Pumpkin Ever.
Next, on to the pumpkin STEM activities! Typically, these activities would be done by students in small groups and with a few pumpkins. But because many schools have safety protocols in place meant to avoid sharing items, here's how you can demonstrate the activities for your students using a single pumpkin—asking them to record the findings as you go.
Alternatively, if you'd like, you can ask parents to sign up to donate pumpkins for the class so that everyone has their own to explore and measure, which will eliminate the need to share for safety purposes. However you tailor the following exercises for your classroom, be sure to follow your district's safety guidelines.
Measuring the Pumpkins
On the first day of investigations, present the pumpkin to the class. For added fun, let your students suggest and vote on names to give the pumpkin.
Introduce the difference between qualitative and quantitative observations (descriptive words vs. numerical data). Have your students complete their qualitative data worksheet with observations about the pumpkin as you examine the pumpkin. As you observe it, express out loud how the pumpkin looks, feels, smells, and sounds while your students take notes.
Next, fill out the quantitative data worksheet together as a class. Demonstrate different ways to measure the circumference of the pumpkins using measuring tape, yarn, and rulers. Which method works best on a round object like a pumpkin?
Depending on its size, the pumpkin can be weighed directly on a scale. If you have more than one pumpkin in class, you can ask: Which pumpkin is the heaviest? Does the heaviest pumpkin also have the largest circumference?
Creases are the vertical lines on the pumpkin, and the creases should be counted from the “South Pole” to the “North Pole”. Mark the first crease with a pen so no crease is double-counted. You can rotate the pumpkin as the students count aloud together or have students take turns counting the pumpkin creases on their own.
Making Predictions
With their qualitative and quantitative data in hand, the class can now discuss which type of data is more useful in predicting the number of seeds in the pumpkin(s).
Review the data collected in a class chart and have students make predictions about how many seeds the pumpkin will have (or, if you have multiple, which pumpkin will have the most seeds). Will the size of the pumpkin or how many creases it has determine its number of seeds?
Estimating and Counting Pumpkin Seeds
Before day two of the investigations, you will need to hollow out the pumpkin(s) and rinse and collect all the seeds. Transfer each pumpkin’s seeds into a separate, clear jar. Label the jars with the names of the pumpkins so it is obvious which seeds came from which pumpkin.
Present the jars of seeds to your students. Now that they can see the seeds, how many seeds do they think are in each jar? Do they have a new prediction for which pumpkin has the most seeds, if you're using multiple pumpkins? (If your jars are different sizes and shapes, it will be extra challenging to guess which jar holds the most seeds.)
Give each student a small handful of pumpkin seeds (from the store, not from the jars) which they should count and compare with the jars full of seeds. Ask them to think of ways they can use their handful of seeds to reasonably estimate the number of seeds in the jars.
If possible, try out some of your students’ suggestions, in addition to these techniques:
Dump the first jar of seeds onto a scale and weigh them. Your students can then take turns weighing their own, smaller piles and estimating the total seed count based on the weight of the pumpkin’s seeds and the weight of their smaller piles.
For the second jar, have your students take turns putting their seeds inside an identical, empty jar. Based on how many seeds they put into the empty jar (and how much volume is filled), can they estimate how many seeds are in the original jar?
For the third jar, dump out the seeds and make several relatively equal small piles. Your students should create a similarly-sized pile from their own handful of seeds and count the seeds. To estimate the pumpkin’s total seed count, they should multiply the seeds in their own small pile by the total number of piles.
Finally, it’s time to count the seeds in the jar (or each jar, if you're using multiple pumpkins)! You can do this together as a class and practice counting by 2s, 5s, and 10s—or even by 3s and 4s, for an extra challenge.
Were the students’ estimates accurate? Why or why not? Which quantitative or qualitative measurement was the best predictor of the number of seeds in the pumpkin(s)?
BONUS Challenge: Introducing the Concept of Pi
For an extra math challenge, add a pi exploration to your STEM Pumpkin Project! Your students should measure the diameter and circumference of the three pumpkins, as well as of various pie tins (in keeping with the theme). They can record their measurements on this “Pumpkin Pi” data worksheet.
Copy the measurement data to a class chart and ask your students what they notice about the values. Prompt with: “About how many times the diameter is the circumference? Is this true for all of your measurements?” Together, your students will discover an important mathematical principle: the circumference of a circle is always about three times the diameter. Once they’ve reached this conclusion, you can introduce the term “pi.”
Shop more books about pumpkins below! You can find all books and activities at The Teacher Store.
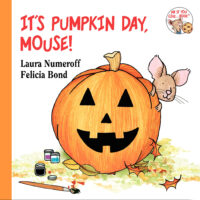
Mouse has a very busy day ahead of him. He has seven pumpkins to decorate. The newspapers are spread, the paints and brushes are out; it's time to create.
This colorful book tells the story of a family who visits a New Jersey farm in autumn to have a picnic, and engage in seasonal activities such as picking apples, selecting pumpkins, baking apple pies, and creating jack-o-lanterns.
Ever cool Pete the Cat faces every challenge with a positive attitude in this popular series.
One day in the pumpkin patch the strangest little pumpkin hatched...Spookley the Pumpkin was different. All the other pumpkins teased him until Spookley proved that being different can save the day!


