Grades
7 - 12
STEAM Activity: DIY Stencils in 6 Steps
Help students discover STEAM leaders and make cross-curricular connections.

Key Takeaways:
Visual arts are a natural complement to every other subject taught in school. One way to use the arts to make direct connections is through STEAM lessons incorporating science, technology, engineering, art and math.
I developed this lesson to help students identify and learn about STEAM leaders in history and create artworks that employ key STEAM concepts.
Step-by-Step: STEAM Stencils
Although every classroom is different, and variables including time and resources may limit the depth possible, this lesson engages students by combining several elements of STEAM. Science is incorporated through the study of color. Students use technology to digitally edit their designs. Grid expansion is a simple way to incorporate proportion, a key math skill. And, of course, the design element is a clear way to introduce art. As a bonus, the lesson invites students to get outside and work collaboratively—which will always benefit every student.
In small groups, students should collaborate to research STEAM leaders and then use Photoshop or Pixlr.com to create a grid expansion portrait of the figures they select. They will then transform their images into stencils that can be spray chalked outside, creating a temporary installation.
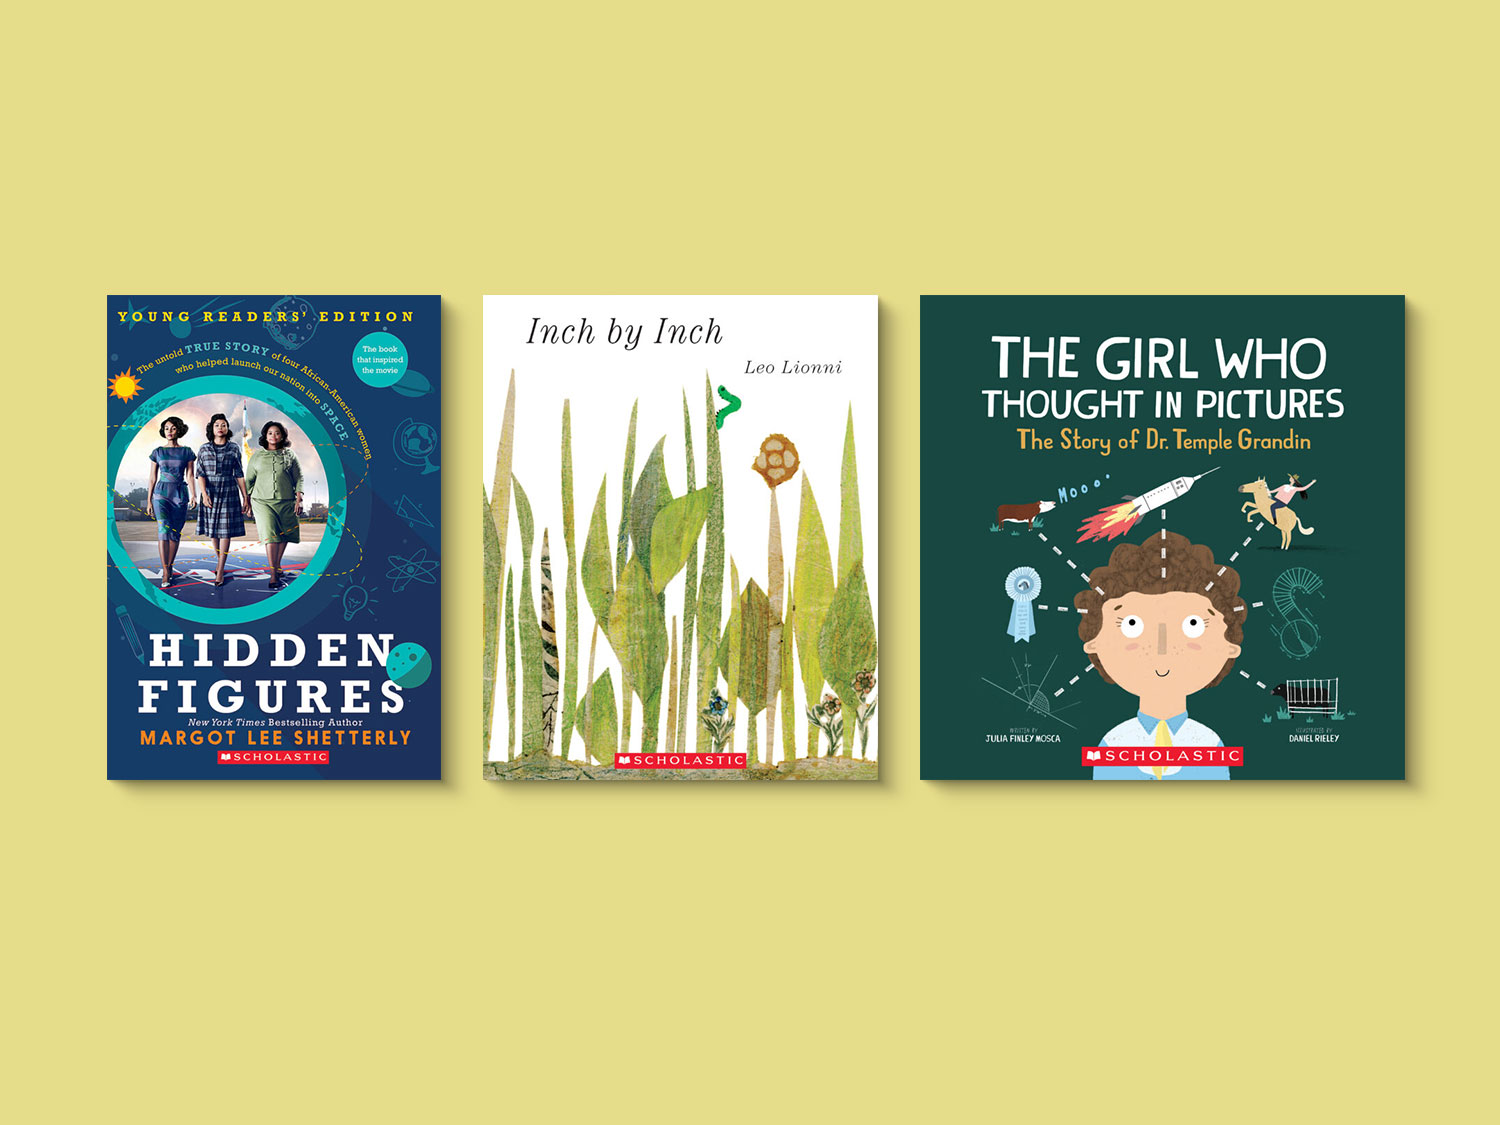
1. To start, students should use a variety of resources, including Scholastic Classroom Magazines, to identify leaders in science, technology, engineering, art and math. Once students have compiled several names, they should vote on one STEAM leader their group would like to highlight.
2. Each group should find an image of its chosen STEAM leader online and upload it to Photoshop or Pixlr.com. Have students posterize or edit their image with a stamp. Then they should place a uniform digital grid over the image, which will help students translate the portrait onto tag board for their stencils.
3. Then they should create corresponding grids on 24” x 32” sheets of thick poster board. The grids will vary depending on the size of the digital images. It is important that students work together to ensure their grids are consistent and that they are accurately translating what is in each square from the digital images to their tag boards.
4. Next, students should cut their stencils. Remind them to cut out what would be the dark value, or shadows, in their stamps or posterized images. As they work together to cut out the shapes, explain that they may need to adjust their cuts so they retain the intended look of the design. This will impact the effectiveness of the stencil.

5. After students cut their stencils, they should experiment with spray chalk on pavement, concrete, brick walls or even grass. Remind them that they always need to get permission to create works like these—even if they are temporary—on public and private property.
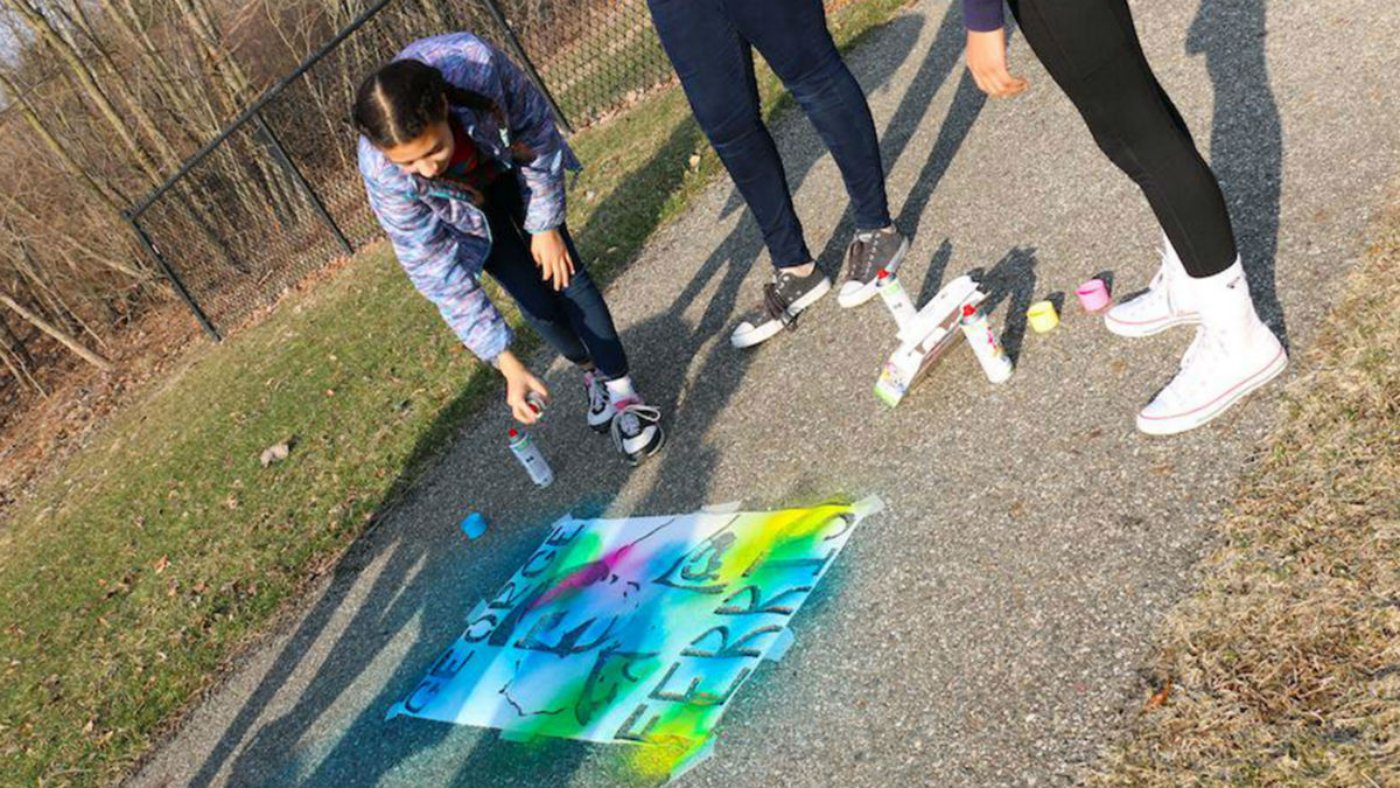
6. Encourage students to think about the science of color as they work. Explain that they can create variations in how their designs look depending on how they spray and overlap the chalk.
If you’re looking for more ways to bring art, reading and writing opportunities into your classroom, check out Scholastic Magazines' STEAM titles. You can even try them free for 30 days when you place an order for the 2019–2020 school year.

—Janine Campbell is a Visual Arts and Design teacher at Byron Center West Middle School in Byron Center, MI. You can follow her on Twitter and Instagram @campbellartsoup.
Want more great content? Click here to subscribe to our Teacher Newsletter and get teaching ideas delivered right to your inbox.