How to Use Easy-to-Find Materials to Teach Your Students Important Science Concepts
With 5-Minute Science Kits from Scholastic, you’ll get your students excited about science and blow their minds at the same time!
Key Takeaways:
· Captivating and thought-provoking science experiments don’t always require elaborate planning or expensive materials.
· With everyday objects you find around the classroom or home, you can conduct your own mind-blowing science experiments!
· These collections of 5-minute science activities from Scholastic not only make teaching science easy and accessible, they make learning about science fun!
Looking for an easy way to get your students excited about science and blow their young minds at the same time? Scholastic’s 5-Minute Science Collections featuring 50 quick, mind-blowing science experiments—from making balloons scream to bending water–can be used to introduce new topics, review concepts, or add even more excitement to your existing lessons! Check out these 2 quick-and-easy science experiments experiments adapted from Scholastic’s 5-Minute Science Collections that will have them at the edge of their seats as you use ordinary easy-to-find, everyday objects to teach them important science concepts related to the NGSS and STEM learning. Featuring 50 quick, mind-blowing science experiments—from making balloons scream to bending water—each of these collections can be used to introduce new topics, review concepts, or add even more excitement to your existing lessons!
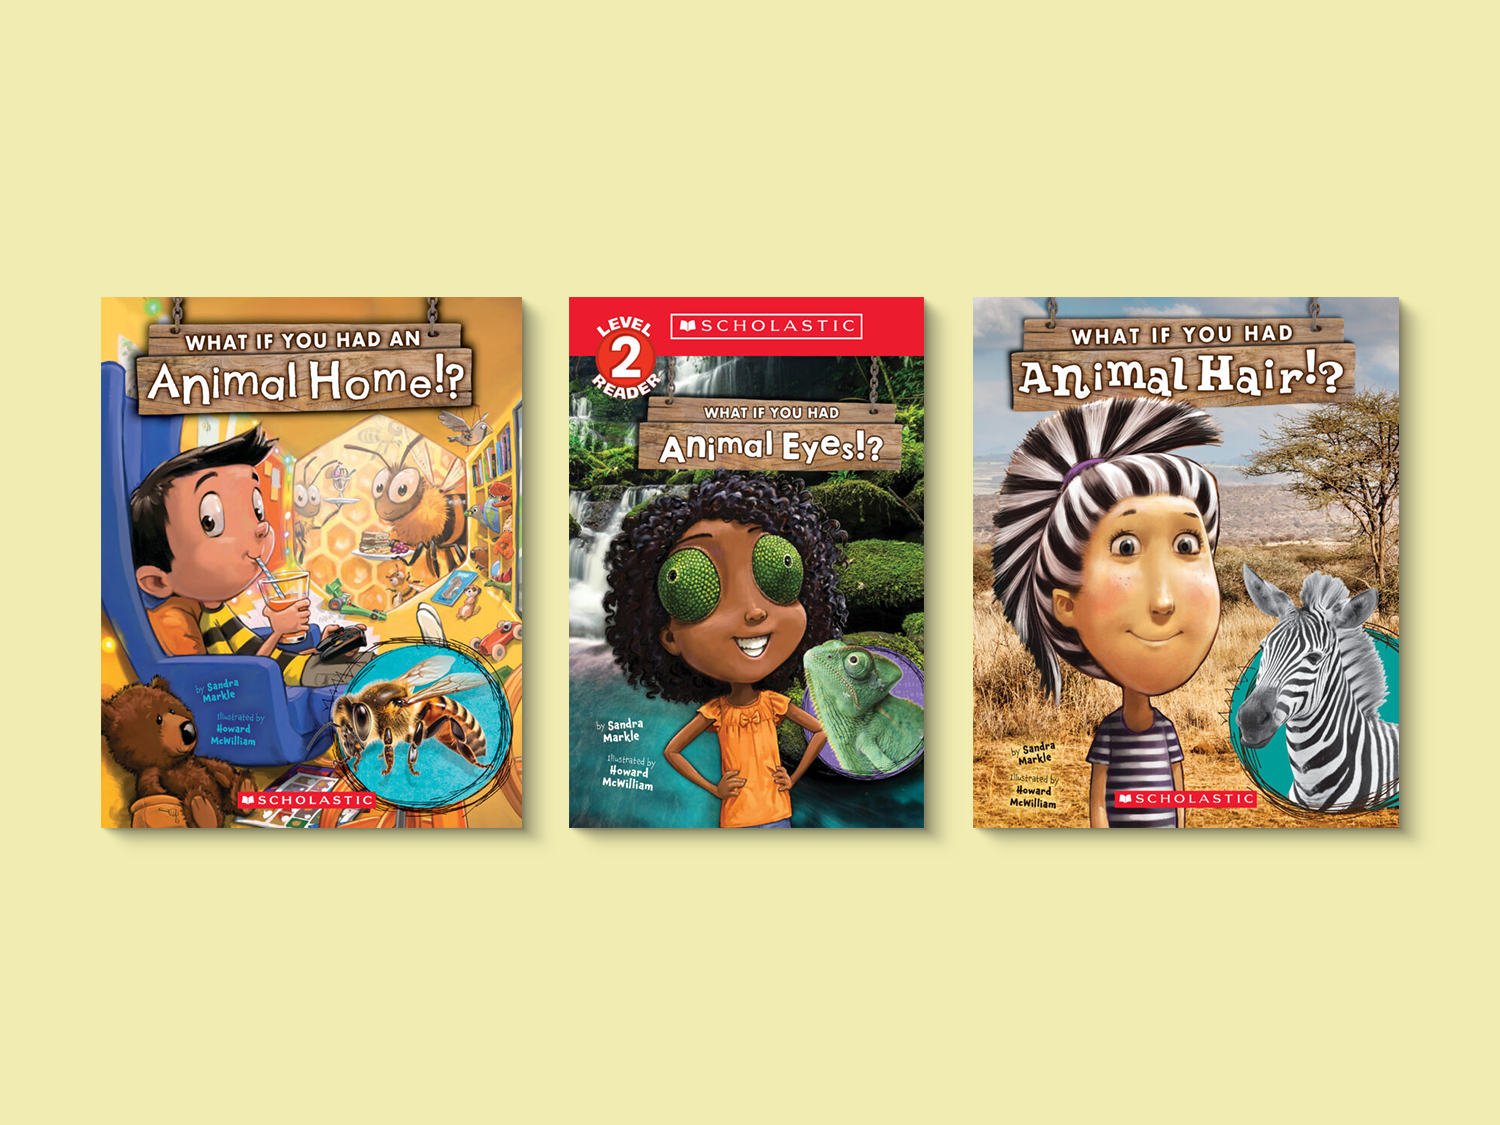
Plus, check out these other teaching kits to help make learning even more fun in your classroom!
Keeping Dry (Grades 1-3)
This teacher demonstration is a great introduction to states and properties of matter. Adapted from this 5-Minute Science Kit, it’s geared for early elementary scientists.
What you need:
· Aquarium, deep bowl, or bucket filled with water
· Tissue paper
· Coffee mug
· Clear glass
What to do:
1. Gather children around a water-filled aquarium, deep bowl, or bucket.
2. Crumple several sheets of tissue paper and stuff them into the bottom of a coffee mug. Put enough tissues so that they remain stuck at the bottom when you turn over the mug.
3. Tell children you will push the mug into the water. Ask: What do you think will happen to the tissues?
4. Turn over the mug and slowly push it to the bottom of the water. Wait a few moments and then lift the mug out of the water.
5. Turn the mug right-side up. Remove the tissues. Pass them around for children to examine. They will be dry.
6. If children can’t tell you why the tissues are dry, do the demonstration again. This time use a clear glass. Have them observe carefully as the water level rises slightly in the glass but doesn’t come in contact with the tissues.
Balancing Can (Grades 4-6)
This student-led activity is a fun and exciting way to teach your young scientists about balance, gravity, and centers of mass. Adapted from this 5-Minute Science Kit, this balancing act is perfect for upper elementary and young middle school students.
What You Need for Each Group of Students:
• Empty, washed soda can
• Measuring spoons
• Small cup of water
• Paper towels (for cleaning up spills!)
1. Prior to class, prepare a leaning can, see instructions below.
2. Balance the can in front of the class.
3. Divide the class into small groups and give each group an empty soda can. Challenge students to balance their cans.
4. When groups are unable to balance their cans, ask them for ideas on how to do it. Record their ideas on the board.
5. If someone suggests using water to help balance the cans, distribute the measuring spoons and water and have students add water to balance their cans. If no one comes up with the idea, let students in on the secret.
How to Balance a Soda Can:
· Add about 100 ml (6 tbsp + 2 tsp or 20 tsp) of water to an empty soda can.
· Test the can’s balance. If the can stands upright, remove some water. If the can falls on its side, add some more water!
These 5-Minute Science Activities not only making teaching science fun and exciting, because each activity only requires a few easy-to-find materials, these experiments will save you time this fall. Plus, important background information, discussion questions, and correlation to the NGSS make these science activities a must-have teacher resource for inspiring the next generation of scientists! For more tools and tips to help your students learn about science, math, reading, and more, check out these essential teacher resources from Scholastic.
Plus, check out these other teaching kits to help make learning even more fun in your classroom!
Want more great content? Click here to subscribe to our Teacher Newsletter and get teaching ideas delivered right to your inbox.


